Build- body tube spirals
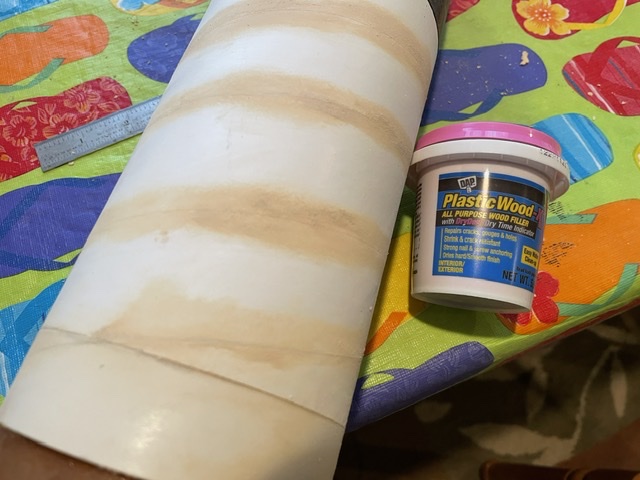
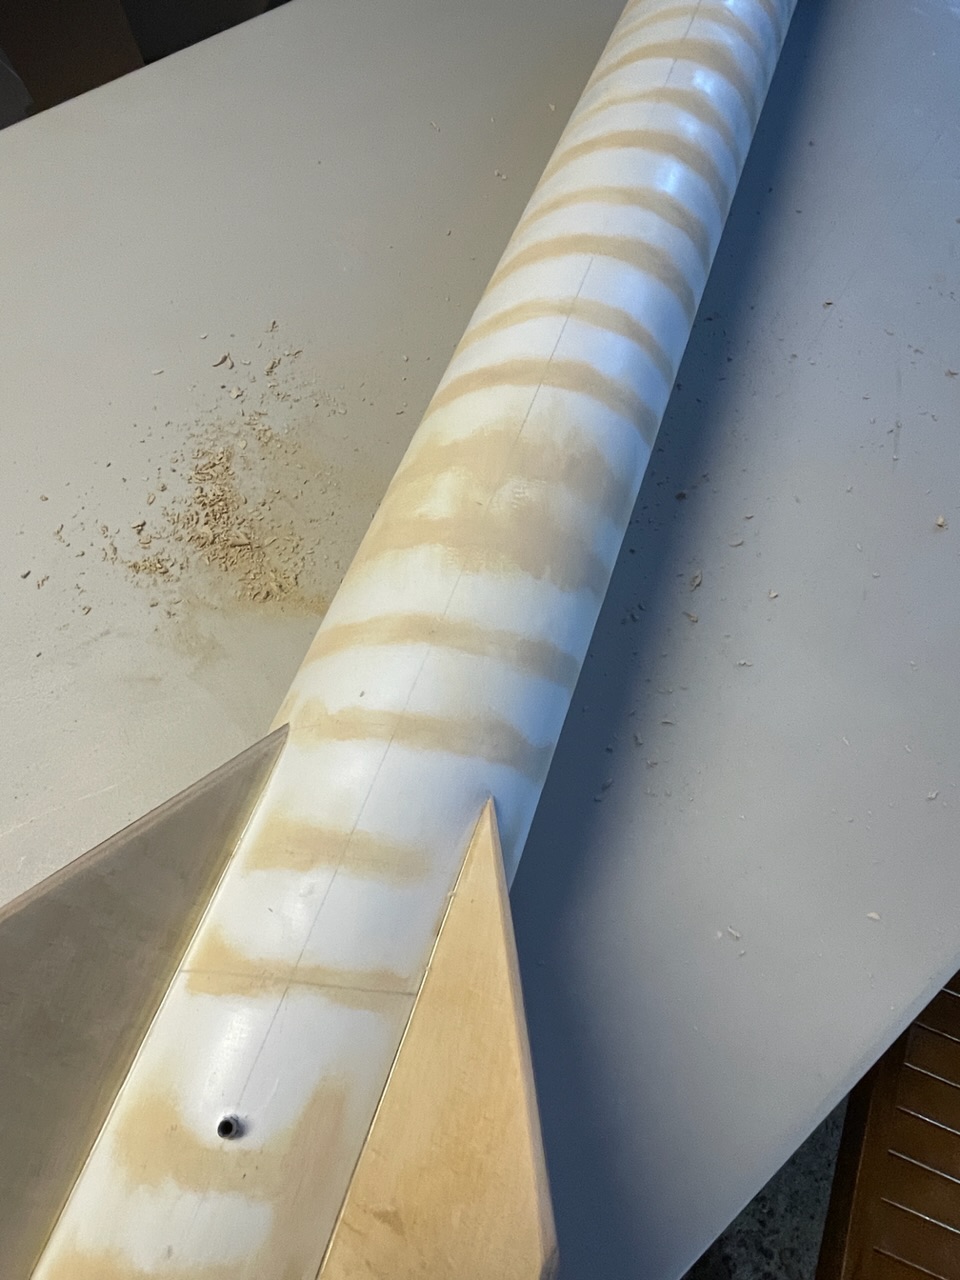
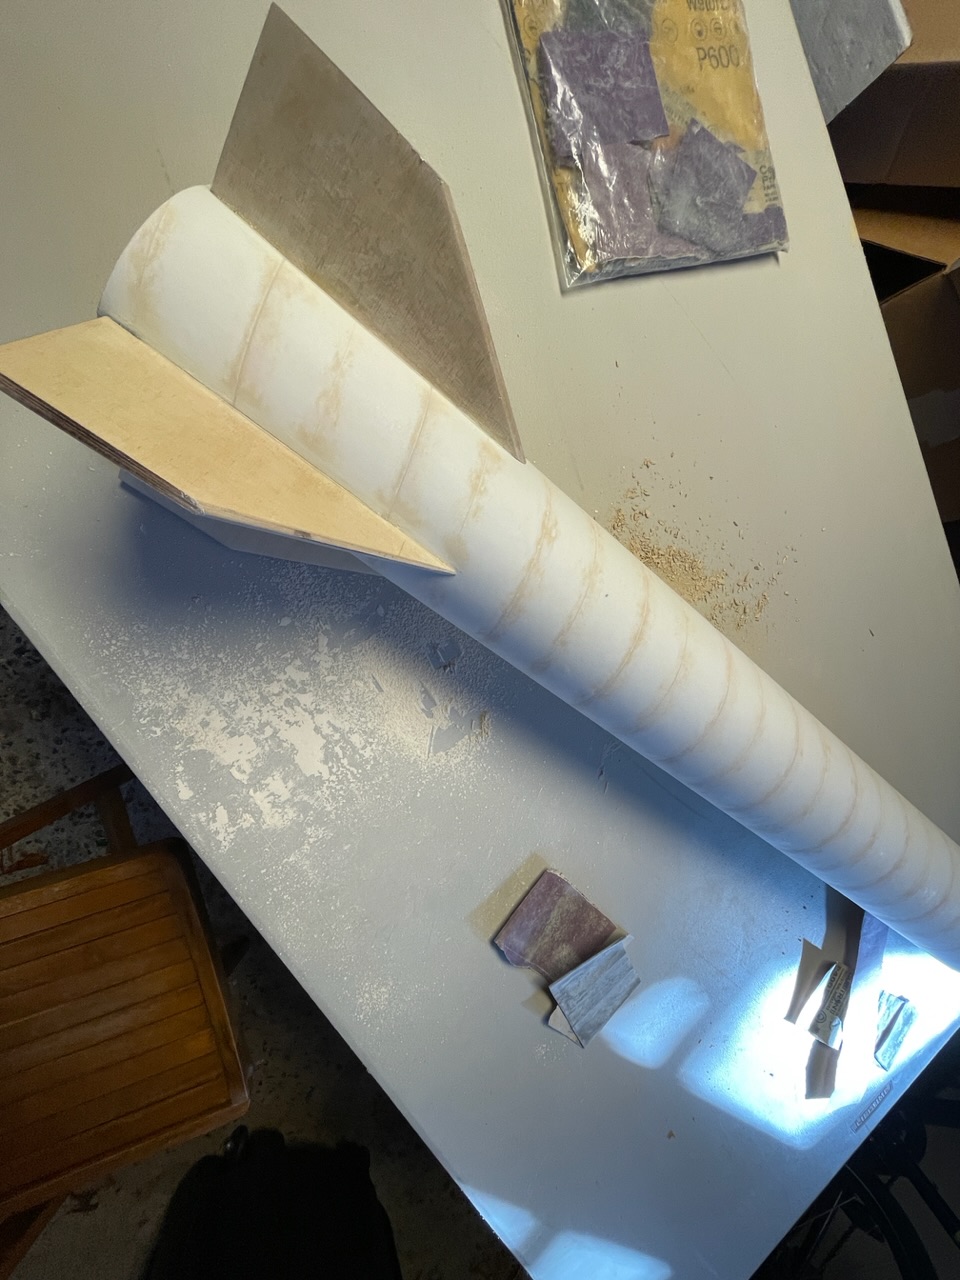
Quote from Zielijo1 on November 4, 2022, 7:29 pmI’m finishing a 4” dia patriot from LOC. I tried filling the spirals . Let dry overnight, sand w 600 grit. 1 coat grey primer
am I just creating new spirals?
Uploaded files:I’m finishing a 4” dia patriot from LOC. I tried filling the spirals . Let dry overnight, sand w 600 grit. 1 coat grey primer
am I just creating new spirals?
Quote from Eric Becher on November 4, 2022, 8:13 pmNot new spirals, but you do have to have patience.
I find that with some deeper spirals, grooves or divots you may have to fill and sand twice. The filler can shrink when it dries and leaves the spirals visible after 1 coat. Alternatively, or in addition, you can use multiple coats of primer. I like to use Rust-Oleum filler primer. Supposedly has more solids to help fill better. I still sometimes sand and re-coat 2 or 3 times before I am happy.
Also, you could use 320 or 400 grit at this stage. The finish coat has to be more smooth, especially before your final coat. For that I often use 800 grit.
So to recap, when looking for that perfect surface:
- 1-2 coats of filler (sanding after each one)
- 2 coats or more of filler primer (sanding after each one, finish with 800 grit if I think I can get away with 1 finish coat)
- 2 coats of finish (light sand, 800 grit, between them)
You can also use fine steel or plastic wool instead of the 800 grit.
Mind you, I am usually not looking for that perfect finish. Sometimes I just want "good enough", or "get it flying" quality. Depends on what kind of time I want to devote to the project.
Also, I like to use Minwax wood filler in the squeeze tube. Easier to apply and spread, longer working time, smoother when dry.
Those blisters I see in the cardboard are tough. I haven't had to deal with that, but you might have to shave them down with a razor blade, then fill and sand until you can't see it anymore. Then when you prime and see it again, sand and coat some more.
Good Luck! I'm looking forward to seeing that perfect Patriot finish! 😁
Not new spirals, but you do have to have patience.
I find that with some deeper spirals, grooves or divots you may have to fill and sand twice. The filler can shrink when it dries and leaves the spirals visible after 1 coat. Alternatively, or in addition, you can use multiple coats of primer. I like to use Rust-Oleum filler primer. Supposedly has more solids to help fill better. I still sometimes sand and re-coat 2 or 3 times before I am happy.
Also, you could use 320 or 400 grit at this stage. The finish coat has to be more smooth, especially before your final coat. For that I often use 800 grit.
So to recap, when looking for that perfect surface:
- 1-2 coats of filler (sanding after each one)
- 2 coats or more of filler primer (sanding after each one, finish with 800 grit if I think I can get away with 1 finish coat)
- 2 coats of finish (light sand, 800 grit, between them)
You can also use fine steel or plastic wool instead of the 800 grit.
Mind you, I am usually not looking for that perfect finish. Sometimes I just want "good enough", or "get it flying" quality. Depends on what kind of time I want to devote to the project.
Also, I like to use Minwax wood filler in the squeeze tube. Easier to apply and spread, longer working time, smoother when dry.
Those blisters I see in the cardboard are tough. I haven't had to deal with that, but you might have to shave them down with a razor blade, then fill and sand until you can't see it anymore. Then when you prime and see it again, sand and coat some more.
Good Luck! I'm looking forward to seeing that perfect Patriot finish! 😁
Quote from Admin on November 5, 2022, 7:50 amBondo® Glazing and Spot Putty! https://www.3m.com/3M/en_US/p/d/b40067521/ Use a putty knife and deposit it into the groove. Smooth the excess away with a clean beveled-edge putty knife. This stuff is a reddish-brown color, almost the same color as some auto primers. A light sanding will knock off any excess when cured. The Bondo sticks much better than wood filler especially in this application where the tube is flexible. Auto parts stores sell this stuff in small tubes. I'd recommend not buying a large quantity unless you're filling potholes on your street. You'll want to use this in a well-ventilated area as it gives off some noxious fumes. The end result, if applied well, is worth it.
Aves™ Apoxie® Sculpt is a two part epoxy clay. You can get different colors but I use the white on my rockets because it's easier to hide under paint. Both components are like clay or Play-Doh. Take equal amounts of each component (I use my .01G resolution scale when I mix small amounts) and kneed them together well. I usually work it together for about 5 minutes. Wear nitrile gloves to keep it off your fingers. Then, trowel this into the groove on the body tube or on other components needing fill. Again, remove the excess with a clean putty knife. One thing nice about this stuff is that before it has cured, you can use water to smooth it out! I've even used a little water when needing it to thin it out (just wet your finger so as not to make it too wet). This stuff can be sanded when it has cured unlike most other epoxy adhesives (BSI, RocketPoxy, West, etc.).
For plastic parts, there's nothing like modeling putty (Testors Contour Putty, Tamiya Putty, Vallejo Plastic Putty 👍) to fill those. It sticks well and when cured can be sanded like it's part of the original part.
Filler primer can be your best friend. I prefer the Dupli-Color or Krylon filler primers, but recently the auto parts stores have been carrying only the Crust-oleum 2-in-1 fillable primer. The latter works but you really need at least a full day or more for it to cure properly for sanding. It's worth the wait, however, because after it's cured, it'll look much better because this stuff slowly fills and expands, and smooths itself out.
RocketPoxy can be used on larger/heavier tubes with a putty knife, and a sponge or paper towels saturated in isopropanol to smooth things out. I don't recommend it on Estes-like tubes because RocketPoxy is thick and you'd risk wrinkling the tube while trying to hide the spirals. 🤨 If you use RP and have troweled it well into the groove, a light wipe-over with isopropanol will smooth things out nicely.
Bondo® Glazing and Spot Putty! https://www.3m.com/3M/en_US/p/d/b40067521/ Use a putty knife and deposit it into the groove. Smooth the excess away with a clean beveled-edge putty knife. This stuff is a reddish-brown color, almost the same color as some auto primers. A light sanding will knock off any excess when cured. The Bondo sticks much better than wood filler especially in this application where the tube is flexible. Auto parts stores sell this stuff in small tubes. I'd recommend not buying a large quantity unless you're filling potholes on your street. You'll want to use this in a well-ventilated area as it gives off some noxious fumes. The end result, if applied well, is worth it.
Aves™ Apoxie® Sculpt is a two part epoxy clay. You can get different colors but I use the white on my rockets because it's easier to hide under paint. Both components are like clay or Play-Doh. Take equal amounts of each component (I use my .01G resolution scale when I mix small amounts) and kneed them together well. I usually work it together for about 5 minutes. Wear nitrile gloves to keep it off your fingers. Then, trowel this into the groove on the body tube or on other components needing fill. Again, remove the excess with a clean putty knife. One thing nice about this stuff is that before it has cured, you can use water to smooth it out! I've even used a little water when needing it to thin it out (just wet your finger so as not to make it too wet). This stuff can be sanded when it has cured unlike most other epoxy adhesives (BSI, RocketPoxy, West, etc.).
For plastic parts, there's nothing like modeling putty (Testors Contour Putty, Tamiya Putty, Vallejo Plastic Putty 👍) to fill those. It sticks well and when cured can be sanded like it's part of the original part.
Filler primer can be your best friend. I prefer the Dupli-Color or Krylon filler primers, but recently the auto parts stores have been carrying only the Crust-oleum 2-in-1 fillable primer. The latter works but you really need at least a full day or more for it to cure properly for sanding. It's worth the wait, however, because after it's cured, it'll look much better because this stuff slowly fills and expands, and smooths itself out.
RocketPoxy can be used on larger/heavier tubes with a putty knife, and a sponge or paper towels saturated in isopropanol to smooth things out. I don't recommend it on Estes-like tubes because RocketPoxy is thick and you'd risk wrinkling the tube while trying to hide the spirals. 🤨 If you use RP and have troweled it well into the groove, a light wipe-over with isopropanol will smooth things out nicely.
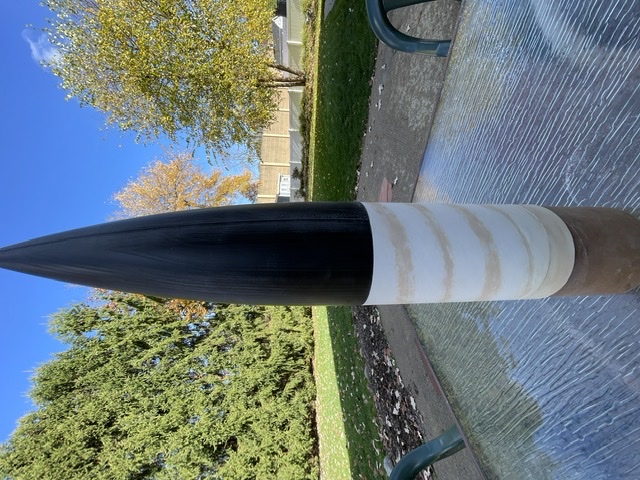
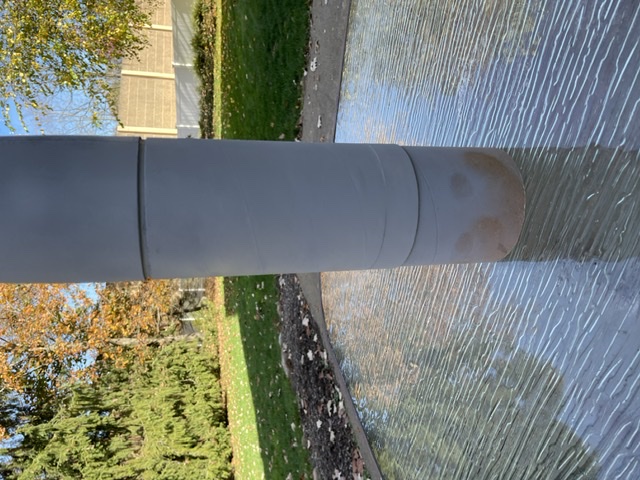
Quote from Zielijo1 on November 19, 2022, 5:48 pmContinuation of spirals. I was able to prime, sand, n paint the upper payload. Meh
I then did the main rocket tube. Let’s see how it looks after grey primer. I’m letting it dry overnight, 400 n 600 grit sandpaper
Continuation of spirals. I was able to prime, sand, n paint the upper payload. Meh
I then did the main rocket tube. Let’s see how it looks after grey primer. I’m letting it dry overnight, 400 n 600 grit sandpaper
Uploaded files: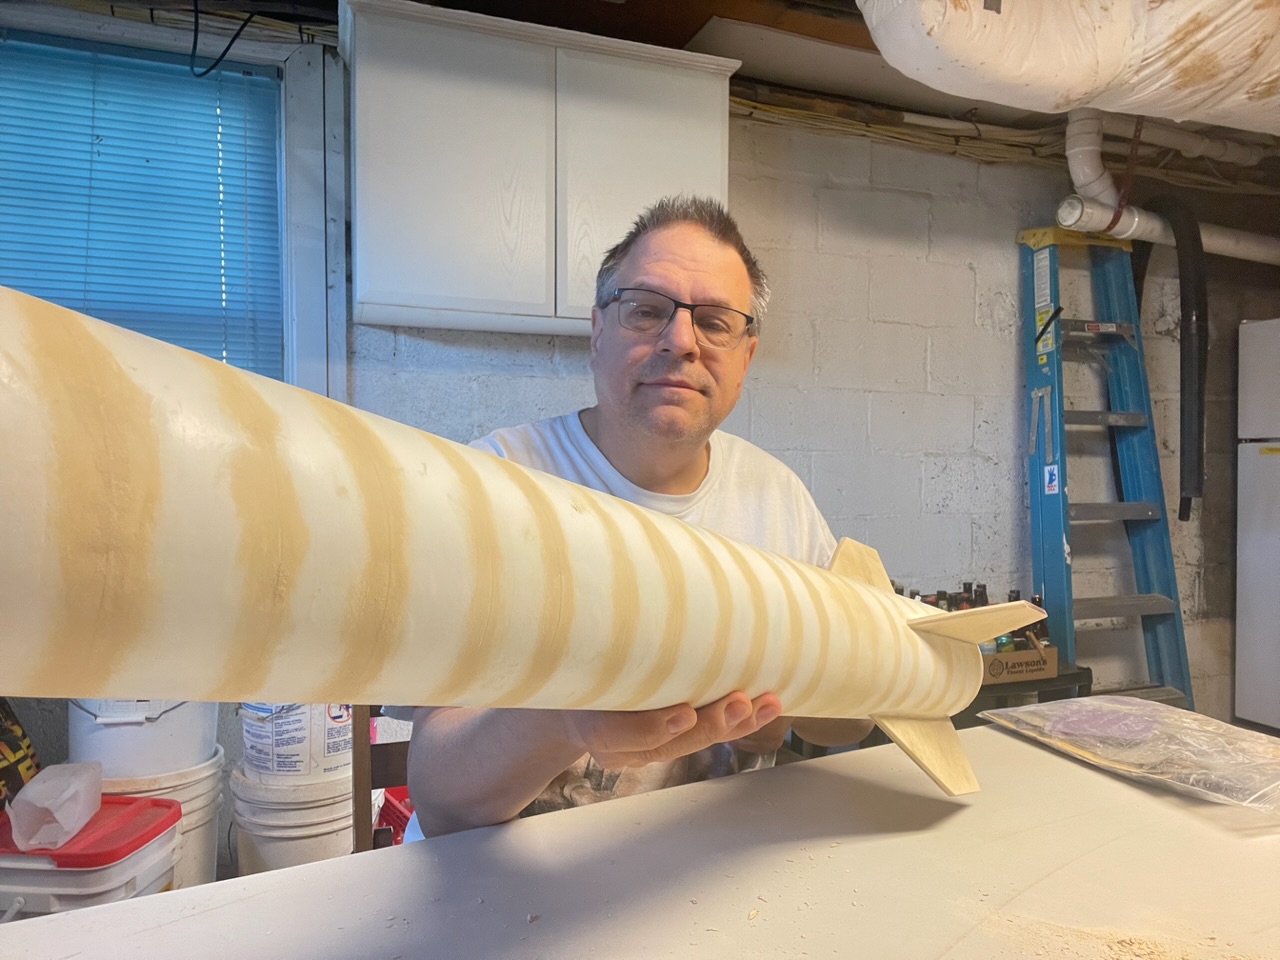
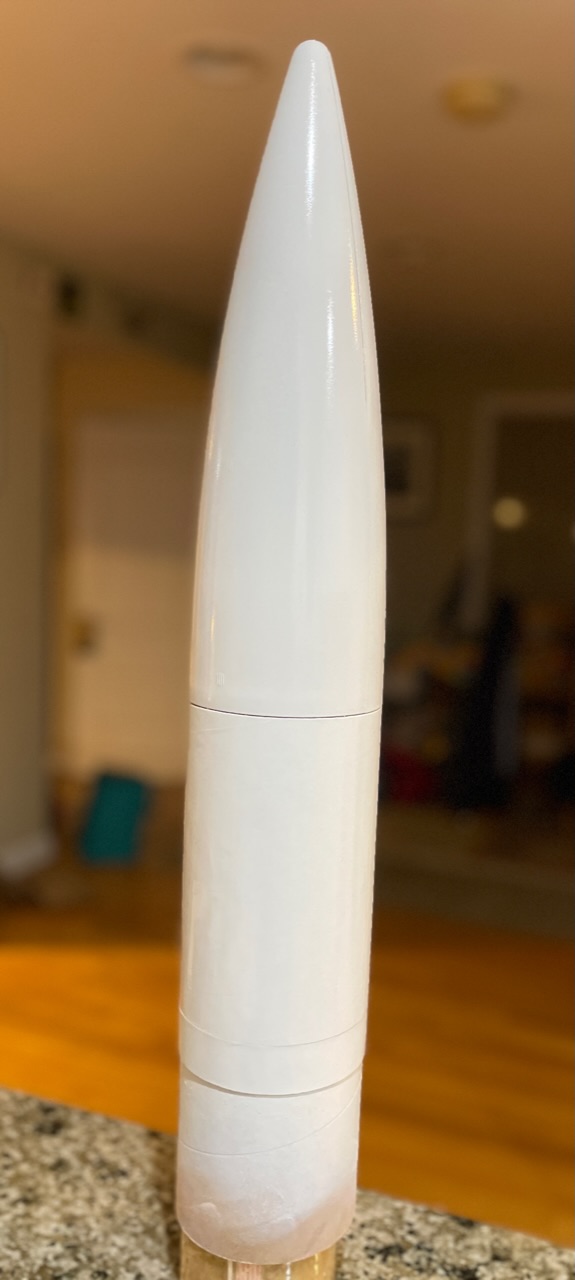
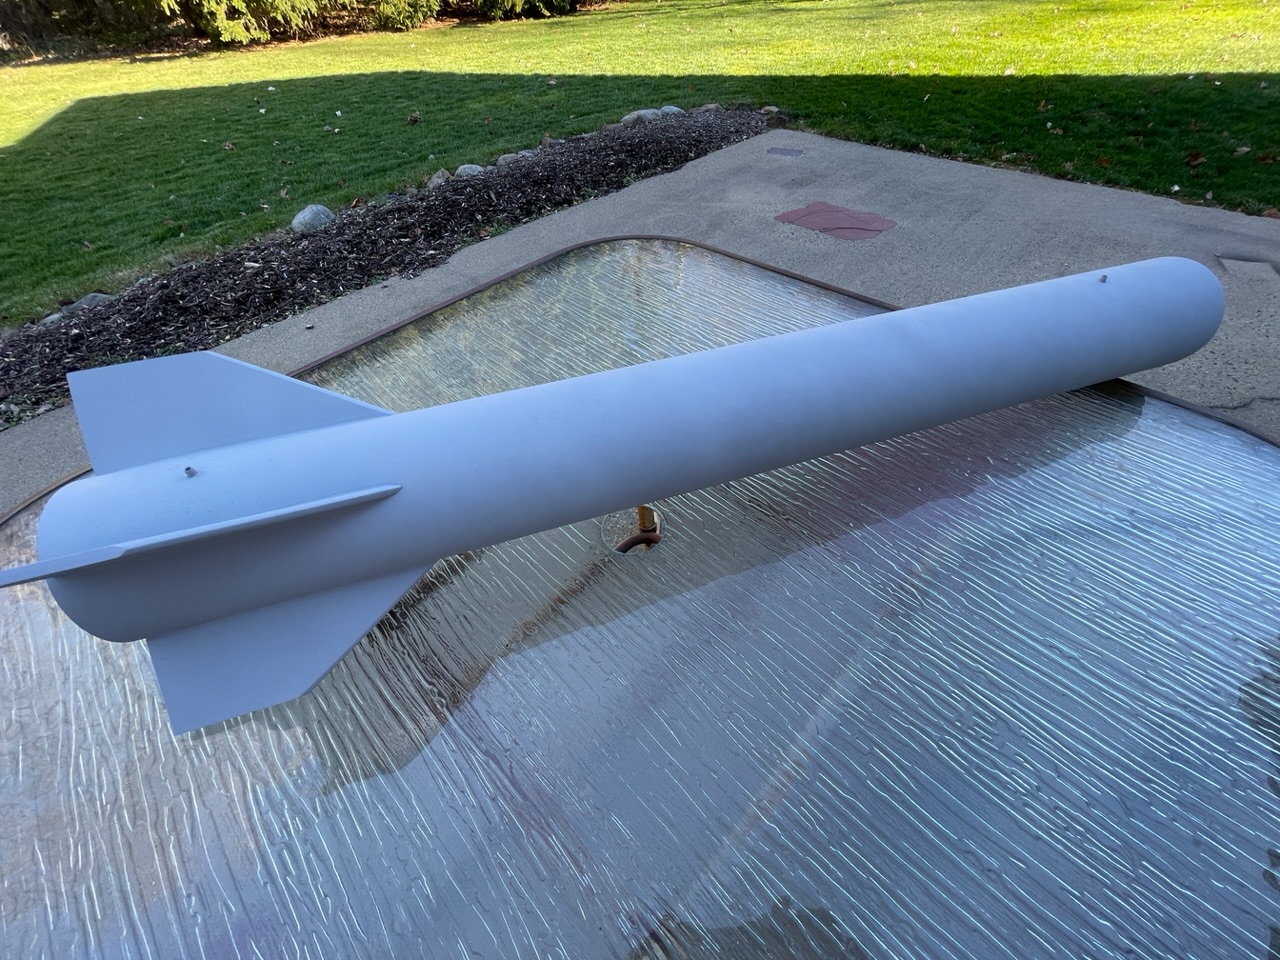
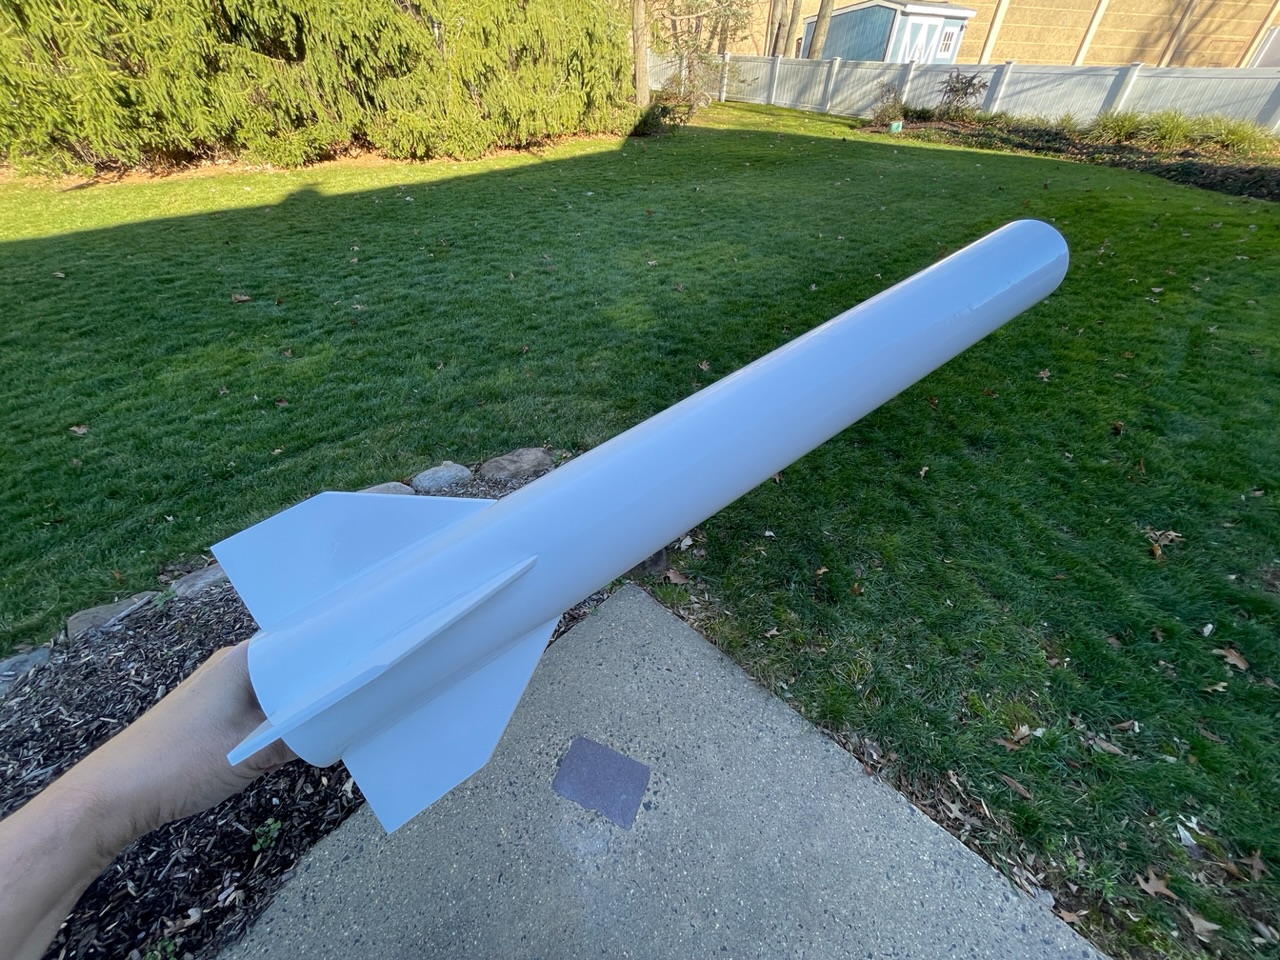
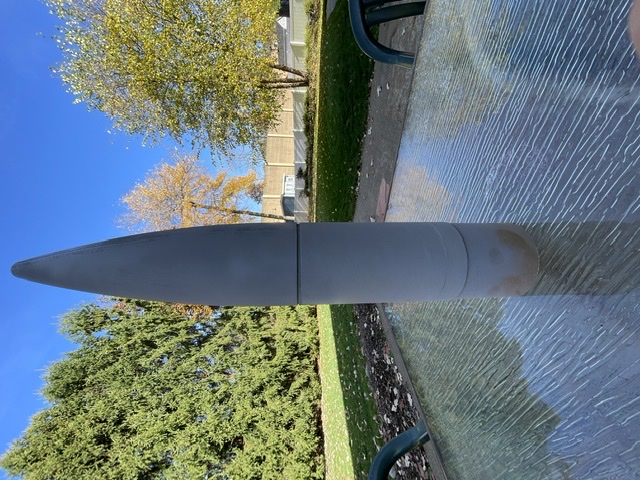
Quote from Zielijo1 on November 27, 2022, 11:28 amUpdate: let dry overnight, sand w 400 grit, 600 grit. Sandable grey primer. Repeat sand, 400, 600. Paint white
my first time filling spirals. Good practice. I did not thin the plastic wood product. I read carpenters wood filler, thinned, might be better
im fighting the outside temp to paint as well
Uploaded files:Update: let dry overnight, sand w 400 grit, 600 grit. Sandable grey primer. Repeat sand, 400, 600. Paint white
my first time filling spirals. Good practice. I did not thin the plastic wood product. I read carpenters wood filler, thinned, might be better
im fighting the outside temp to paint as well