Upscale interceptor build thread
Quote from Zielijo1 on June 23, 2025, 10:51 amI got this large! Interceptor model from Gary knotts in Georgia. Who doesn’t have a 3D printer in their basement.
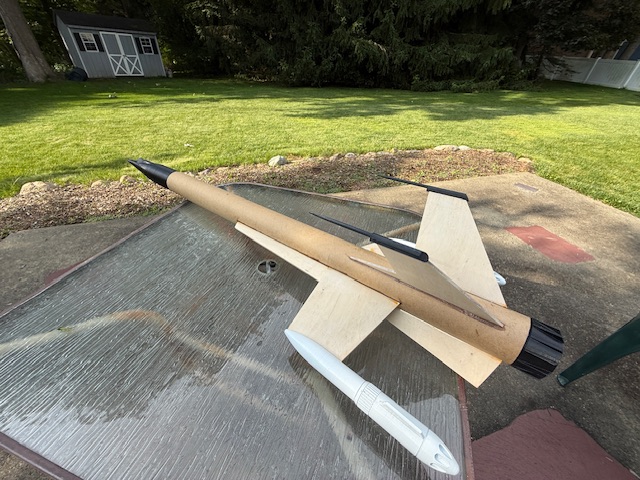
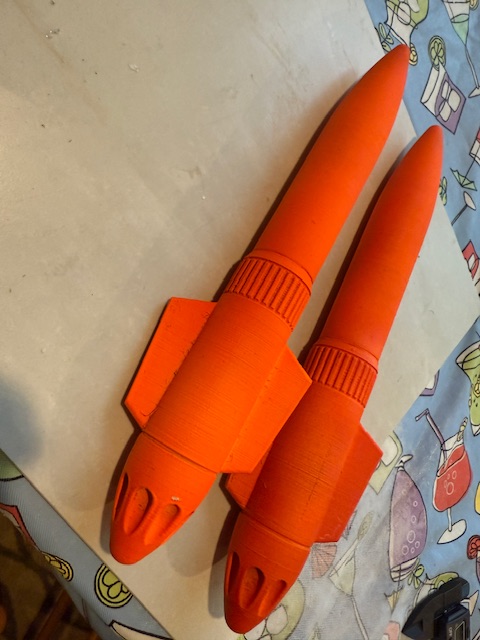
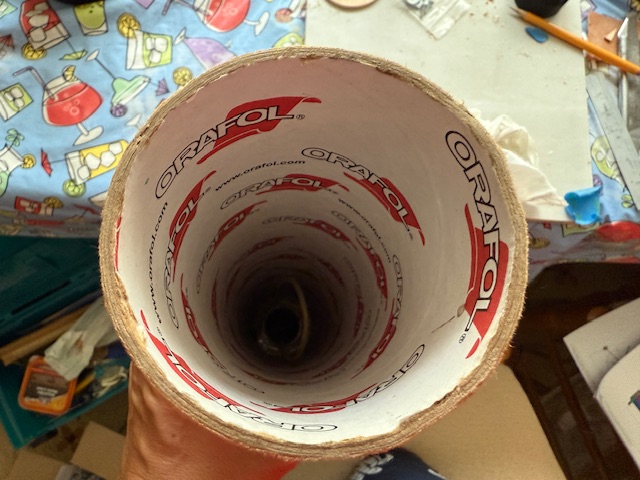
his instructions have detail but it’s not step by step instructions. Therefore, best to test fit before glue. This is a 38mm MMT. Min H motor.note the motor retention is not the aft cowl. Leave room to grab the retention ring
i found all his cuts good except his centering rings.
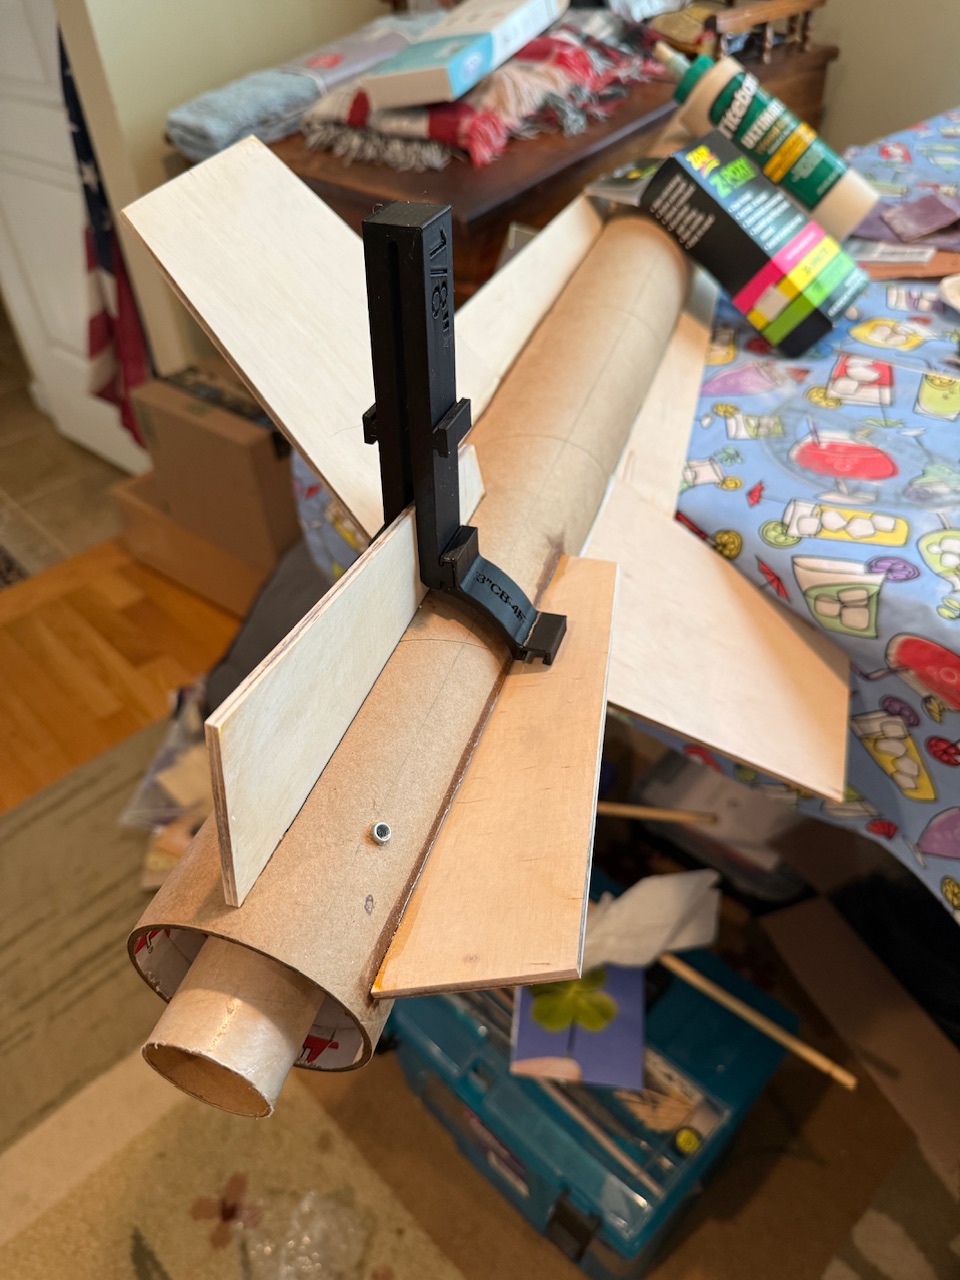
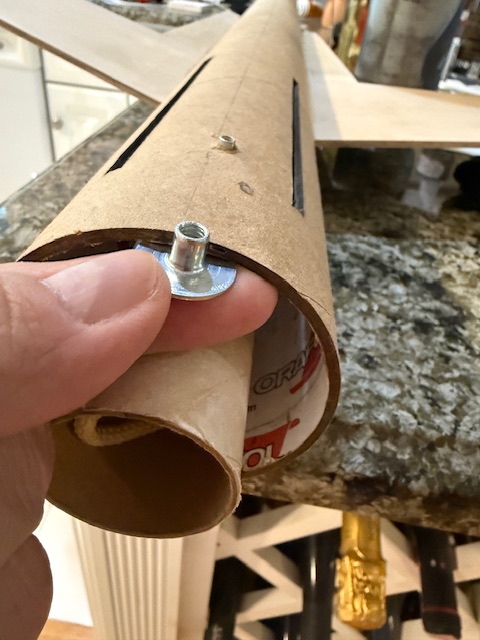
this is thick walled body tube, I installed 1515 rail buttons
its important to note where the fin slots are located in relation to the CR position. I set the forward ring (there are 4) with glue using the aft CR to position. This gives access to apply fin fillets inside the BT, installing one CR after another.
The 3D printed pieces show a lot of ridges from the printing process. I’ve seen this. I noticed a lot of strings from the printing. These will need to be sanded
more pixs to follow
I got this large! Interceptor model from Gary knotts in Georgia. Who doesn’t have a 3D printer in their basement.
his instructions have detail but it’s not step by step instructions. Therefore, best to test fit before glue. This is a 38mm MMT. Min H motor.
note the motor retention is not the aft cowl. Leave room to grab the retention ring
i found all his cuts good except his centering rings.
this is thick walled body tube, I installed 1515 rail buttons
its important to note where the fin slots are located in relation to the CR position. I set the forward ring (there are 4) with glue using the aft CR to position. This gives access to apply fin fillets inside the BT, installing one CR after another.
The 3D printed pieces show a lot of ridges from the printing process. I’ve seen this. I noticed a lot of strings from the printing. These will need to be sanded
more pixs to follow
Uploaded files:
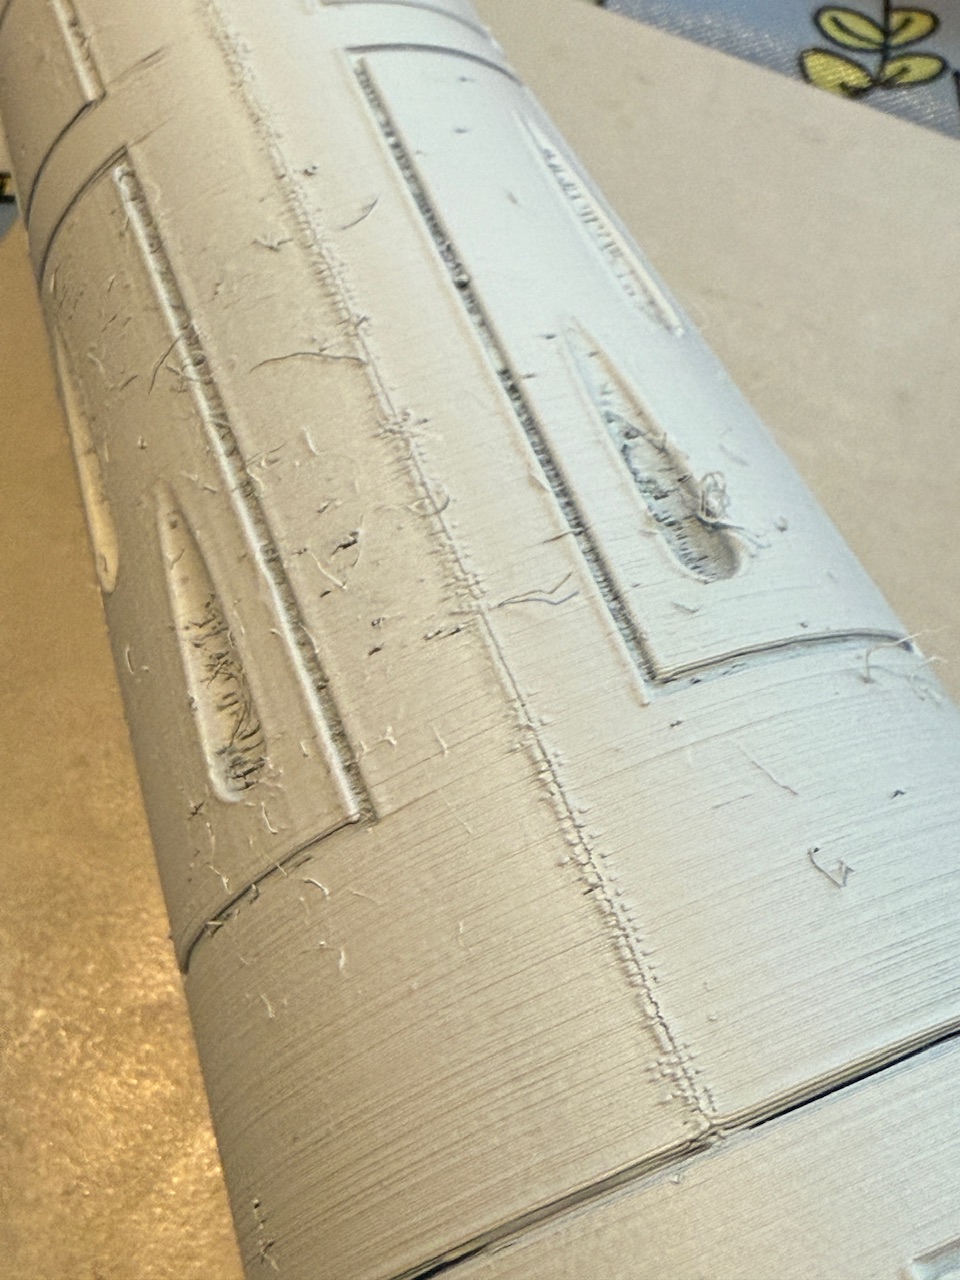
Quote from Zielijo1 on June 24, 2025, 5:36 pmThe body tube is sort of a mailing tube. Definitely needed light sanding. This is a large rocket, used 1 can of paint… need more
The body tube is sort of a mailing tube. Definitely needed light sanding. This is a large rocket, used 1 can of paint… need more
Uploaded files: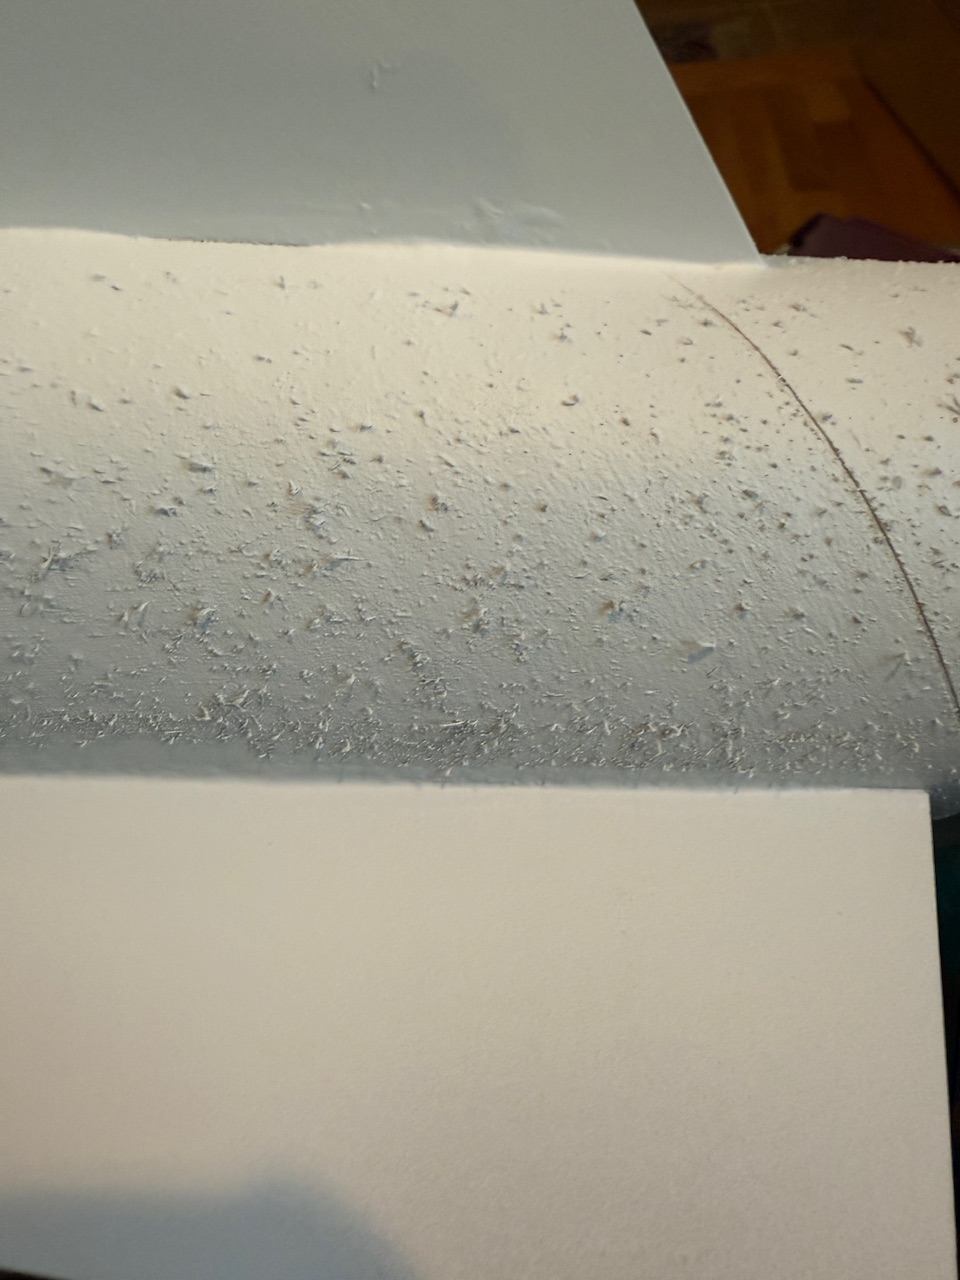
Quote from Eric Becher on June 24, 2025, 6:01 pmI've seen that happen before. Usually you'll only have it on the 1st coat. Sand it all smooth (200 grit is fine) and do another primer coat. That should none of that fur.
The spirals on the other hand... 😝
I've seen that happen before. Usually you'll only have it on the 1st coat. Sand it all smooth (200 grit is fine) and do another primer coat. That should none of that fur.
The spirals on the other hand... 😝
Quote from Admin on June 24, 2025, 7:34 pmWhat's the OD on the main body tube? I'm trying to visualize the upscale on this Interceptor.
What's the OD on the main body tube? I'm trying to visualize the upscale on this Interceptor.
Quote from Zielijo1 on July 29, 2025, 8:50 pmAfter 3 coats of white primer, sanding between each. The body tube material is not traditional BT
weather has delayed finishing
After 3 coats of white primer, sanding between each. The body tube material is not traditional BT
weather has delayed finishing
Uploaded files: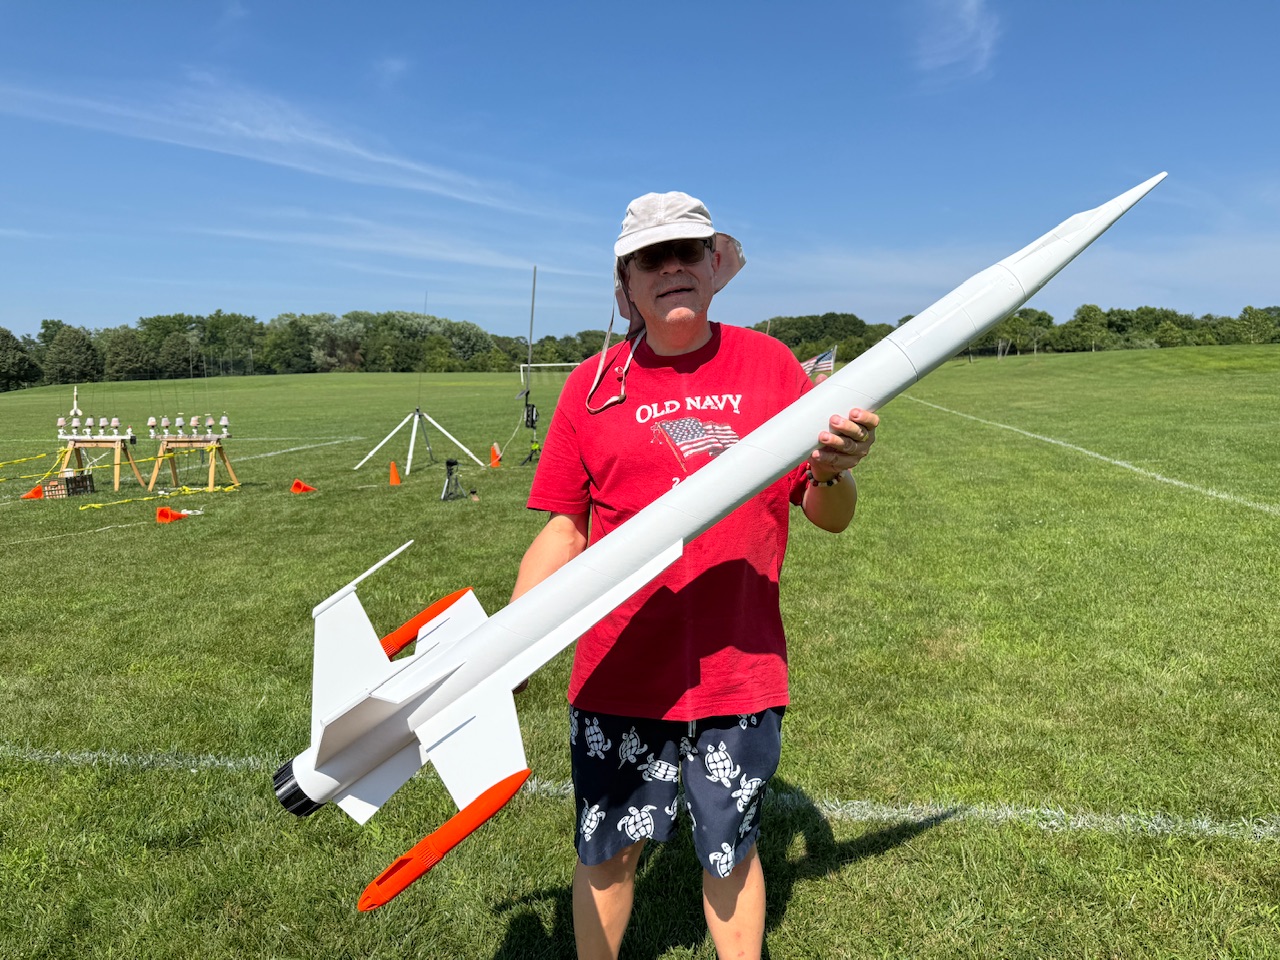
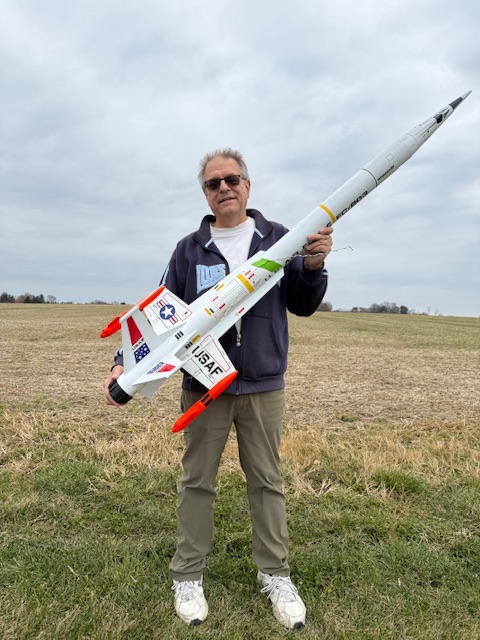
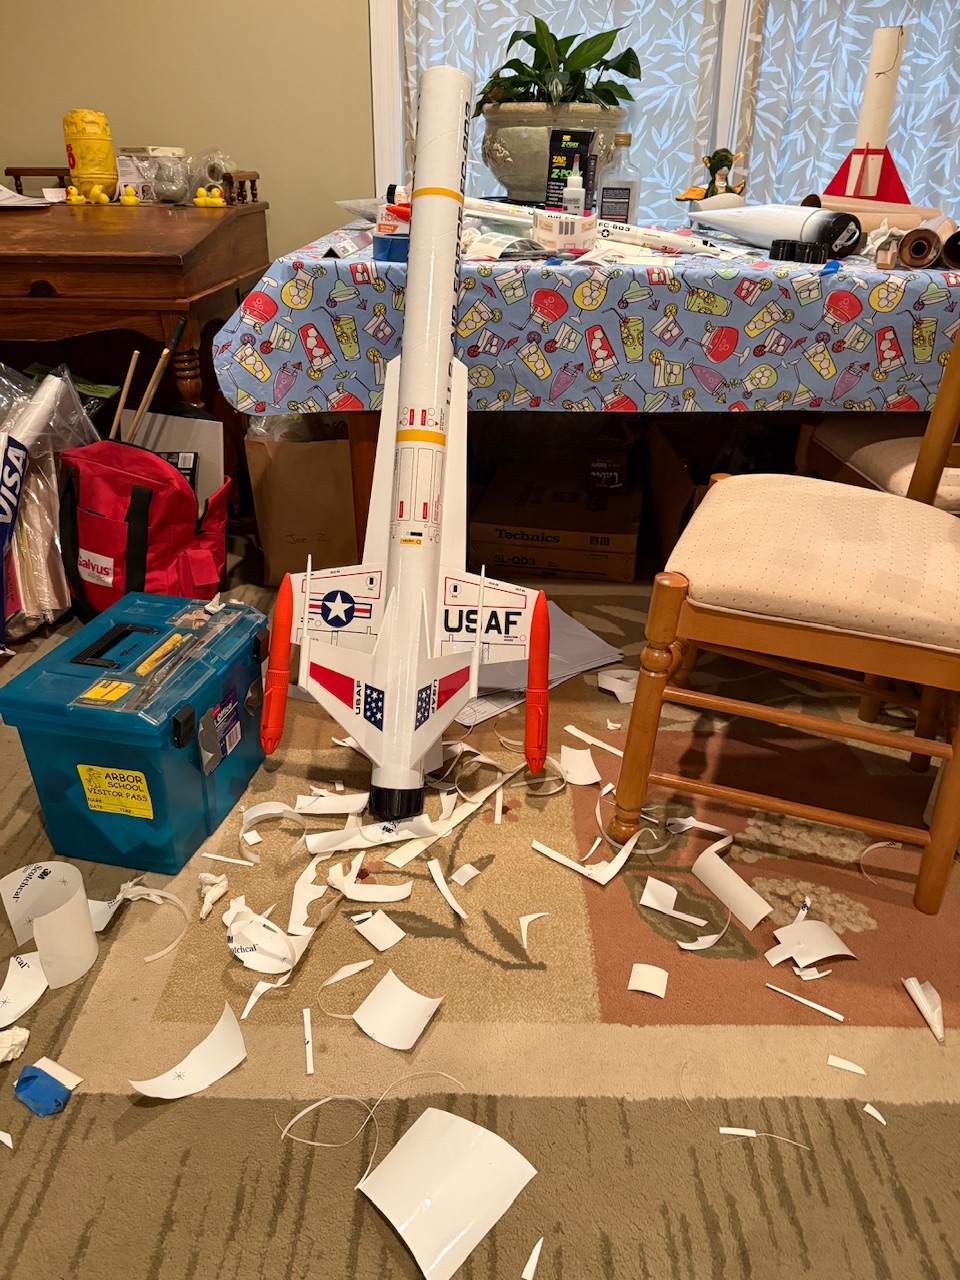
Quote from Zielijo1 on September 27, 2025, 8:24 amFinally found time to finish this rocket. The body tube is some sort of mailing tube, I used 3 coats of flat white primer and sanding in order to get a nice finish. Final coat of gloss white. The decals are a vinyl decal. It’s different from other vinyl, the top protective layer is difficult to remove as the decal is clear. They can be repositioned but are prone to stretching. Becoming distorted. It’s ready to fly
Uploaded files:Finally found time to finish this rocket. The body tube is some sort of mailing tube, I used 3 coats of flat white primer and sanding in order to get a nice finish. Final coat of gloss white. The decals are a vinyl decal. It’s different from other vinyl, the top protective layer is difficult to remove as the decal is clear. They can be repositioned but are prone to stretching. Becoming distorted. It’s ready to fly

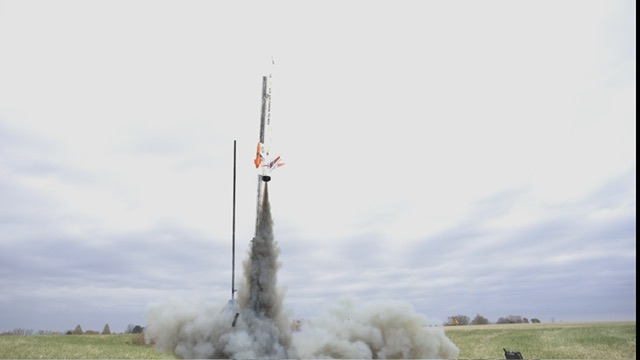
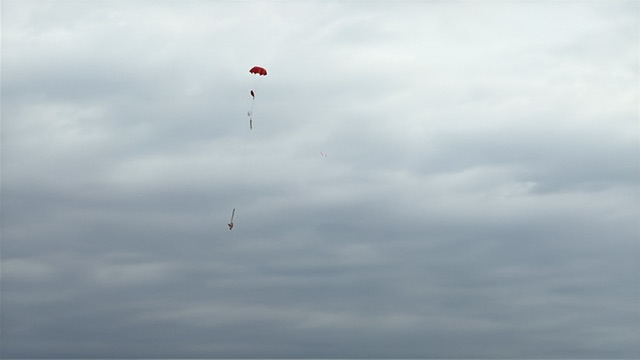
Quote from Zielijo1 on November 16, 2025, 3:15 pmCheck out the first flight on I212, 52” chute, chute release at 400 ft( and worked), 6LB liftoff weight
https://youtu.be/iUcNfaGirwU?si=T3wMiy1Af9UJWkiS
Uploaded files:Check out the first flight on I212, 52” chute, chute release at 400 ft( and worked), 6LB liftoff weight